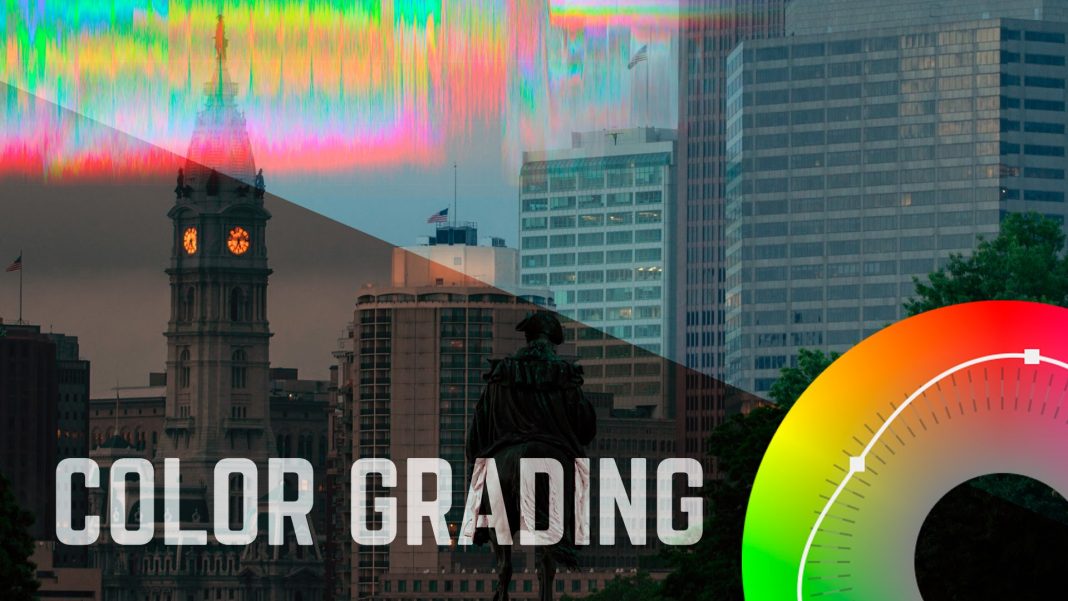
Last time, we talked about the advantages and disadvantages of shooting flat vs. “color-correcting in camera” as well as some half-way options like Cine and Neutral with reduced contrast, sharpness, and saturation.
[table id=4 /]
The only way to make this decision for yourself is to practice many different ways and see what works for you.
Why I chose In-Camera (No color-correction in post)
(above shot and edited in under an hour with EOSHD 3.0 settings)
- #1: Speed on the road
- #2: Focus on story-telling vs. worrying about settings
- #3: I’m just not that good at shooting flat and doing color yet.
- #4: I’m starting to use my eyes more than meters now for exposure and White Balance.
Experiments with Speed and Storytelling
I am also exploring alternative super-cheap and easy ways to create video stories. Here is a test of InShot – edited in 10 minutes using stuff I had on my phone (drone footage is just the cached video from a flight last night).
Setting the Mood with White Balance
“White Balance for Dummies”
Sun: 5600 K, Flourescent = 4800 K, Tungsten =3200K
You can set directly to one of these, or you can go for a more creative look by purposefully setting it differently.
Low High
2500K 10,000K
Cold/Matrix Warm/Sunset
You can also adjust specific colors using a custom setting.
Strategies for Shooting Flat
- Easiest method: Use the Neutral Creative Style Select a neutral profile and drop brightness, contrast, and saturation as low as they will go. On Canon this is called “Prolost Flat”
- Use a “log” Picture Profile (note that on Sony you can only have one or the other active. You have to turn off Picture Profiles for Creative Style to work). For Sony, use S-Log2 For Canon this can be simulated with the free Cinestyle Profile or you can try C-Log. For Sony, go to PP8 and set to S-Log2 + S-Gamut3 Color Mode.
How to Color Grade
Step One: Where to apply the effect
How to Color Grade:
- Go to the Color workspace which will bring up Lumetri Color panel on the right
- Open up Lumetri Scopes to the left. These will help you balance colors and make other key adjustments.
- In “Basic Correction” we will try to balance the colors and find the right overall tone. If you have a “Technical” or “Utility” LUT for adjusting your footage (Cinestyle or S-Log2) you can start with that and then do corrections that get you closer to the look you want.
- Next go to the “Creative” tab and play with the creative LUTs to find a look that you want. There are tons built in. You can also find free ones online, or buy a pro pack if you like a particular look.
- Feel free to play with all of the other controls (curves, wheels, etc.). You are not changing the original clip, so feel free to have fun and just see what kind of looks you can create.
LUTS are Cool
The Challenge
The Low Bar: Settle in on a Color Workflow that works for you, your project, and your future goals. You can either (1) Pick a picture profile an White Balance strategy that gets you what you want in-camera or (2) Learn to shoot flat and use LUTS and custom grading to get the look you want. Submit a sample of work illustrating the choice you made along with some material that shows that you explored other options and rejected them. In your reflection, write about what you learned and why you settled in on the choice you made.
The High Bar: Use this challenge to take your previous work or some new work and use color-grading to create a sequence that captures a specific mood (or play with several moods). If you know what your final project will be, use this as an opportunity to create a setting sequence for your final project. (For example, if your project will take place at X, make a sequence showing the life of X.)


