I love asynchronous teaching, and my *online* students love asynchronous learning. But this Fall is different. I will suddenly have nearly 400 students who have signed up for synchronous face-to-face learning who will be thrown into online learning. They will bring different expectations and desires than the student who signs up for online learning.
So what to do?
Asynchronous has a number of advantages that I am not willing to give up:
- No scheduling difficulties for busy (or sick) students
- Reduced technology barriers
- Allows for more “offline” learning opportunities (like anth101 challenges)
- Creates time and space for deep thinking and reflection
- More time for me to curate and create high-quality materials
- No feelings of being “Zoomed Out”
Most importantly, it sets myself and my students free from the screen and the overall feeling of being forced to do something at a specific time. I cannot emphasize enough how wonderful it is to be completely free to teach and learn whenever, wherever, and however one chooses.
But the asynchronous mode misses out on those wonderful moments of spontaneous emergence that can sometimes happen in a live interactive discussion.
So I set out to find opportunities to add some synchronous elements to my online course that could help create a stronger sense of community, energize our interactions, and provide a space for those emergent moments to occur.
My Online Setup (Prior to Fall 2020)
As I have laid out in my 10 Tips video, I am a big fan of simplicity, so my class has a very simple setup. There is a weekly module that contains the same basic elements every week:
- An Intro “Hype” video reviewing 5-10 big ideas for the week.
- A pdf of those 5-10 big ideas.
- 8-10 “readings” (which typically include short videos, podcasts, and chapters)
- A single mp3 of all of the “readings” for “reading on the go”
- A Quiz (20 points)
- 2 Discussions (20 points)
- An Activity (20 points)
In true simple asynchronous fashion, all 3 assignments (quiz, discussion, and the activity) are due at the same time every week, creating a simple and consistent weekly rhythm.
The Idea for Fall 2020
Over 400 students will come into this class this Fall expecting 3 class meetings per week, and I suspect that this asynchronous model will not meet their expectations. And we have the advantage of having specific times 3x per week (MWF) that are set aside for synchronous encounters.
How can I use these without losing the advantages of the asynchronous setup?
Monday: The Big Ideas Livestream: Instead of a pre-recorded “hype” video reviewing the 5-10 points, I can do this on a live-stream.
Wednesday: Watch Party. Instead of just assigning them the 8-10 “readings,” we can watch some of them together and have a live chat as we watch.
Friday: Discussion / Workshop. Students can either participate in an asynchronous discussion board or join the group for a 1 hour discussion (led by a TA in small groups).
These events can be archived for later viewing, creating a nice synchronous / asynchronous hybrid.
The Technology Problem
While Zoom is excellent for small discussions, my tests showed that it just would not work for the Big Ideas live stream or the Watch Party. Zoom runs video (videos you want to play, not your webcam) at about 1 frame per 3 seconds – basically unwatchable. And given my heavy reliance on video (and other high-quality visuals) in my teaching, it just wasn’t going to work.
So I started experimenting with live streaming, and soon discovered that the opportunities in that space were far greater than I had originally anticipated.
Enter OBS: Open Broadcasting Software
OBS is free and open source software for video recording and live-streaming. It allows you to put multiple audio and video sources into a single stream. You can collect multiple sources (video sources like cameras, windows, your screen, etc. and audio sources like your mic, your computer audio, a music playlist, etc.) and arrange them into “scenes” with the sources arranged in different ways. You can create a scene for each and every presentation scenario you can imagine and quickly change between scenes.
Advantages of OBS vs. Standard Zoom
- Clean control over what you are displaying (video AND audio)
- No limits on PowerPoint functionality (unlike Top Hat Pro, etc.)
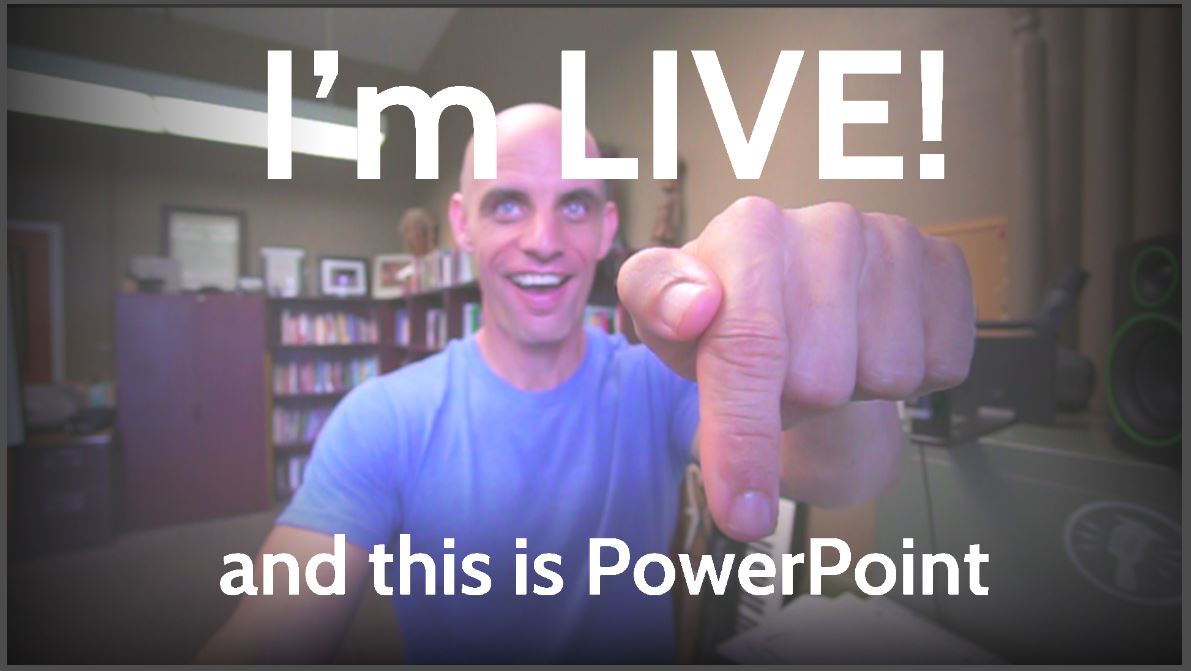
- Awesome Overlays (like the ability to have PPT text show over your webcam image)
- Multiple Cameras
- Use almost any camera
And if you use OBS to live-stream, you also get videos that do not lag. But this comes with a cost:
The cost of Quality HD Streaming video: LATENCY
The reason that the video plays so cleanly on YouTube and other streaming platforms is because of latency. Latency is the delay between you sending an image and your audience receiving it. YouTube has a latency of about 30 seconds (up to 2 minutes!). This allows YouTube to create a Buffer and output an HD stream.
Latency Comparison:
YouTube Live: 30 seconds to 2 minutes
ZOOM: .007 seconds
In contrast, the latency on Zoom is just 7 ms (basically instantaneous). This is what makes Zoom so good for talking to each other.
Best of Both Worlds? YES! (almost)
If you don’t care about streaming high-quality video and you prefer that instant connection, you can still use OBS as a Super-Webcam and just run everything you see in your Zoom window right into Zoom. Here is how you do it:
- Install OBS Virtualcam.
- Re-Start OBS.
- In OBS, click on Tools => Virtualcam.
- Start Virtualcam
- Launch Zoom
- Set your video source in Zoom to OBS-Camera
- If you just want to use your mic, just set your mic to the right source in Zoom. If you want to use Audio from OBS (which allows you to mix the levels from your computer and your microphone) there is one more step.
2 Options for playing the Audio from OBS on Zoom
Option 1: Sparkocam
- Install Sparkocam
- Add “OBS-Audio” as a Microphone in Sparkocam
- In Zoom select “Sparkocam” as your microphone.
Option 2: Virtual Audio Cables
This gives you the ultra-low latency of Zoom & almost all the benefits of OBS that I will showcase below. What’s missing? High-quality video. The low latency comes with the trade-off of not having that beautiful HD video.
Setting Up OBS as the ultimate classroom presenter
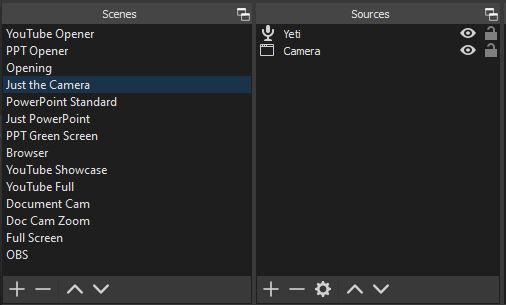
Once you start up OBS, the most important place to look is the lower left hand corner where you will see “scenes” and “sources”
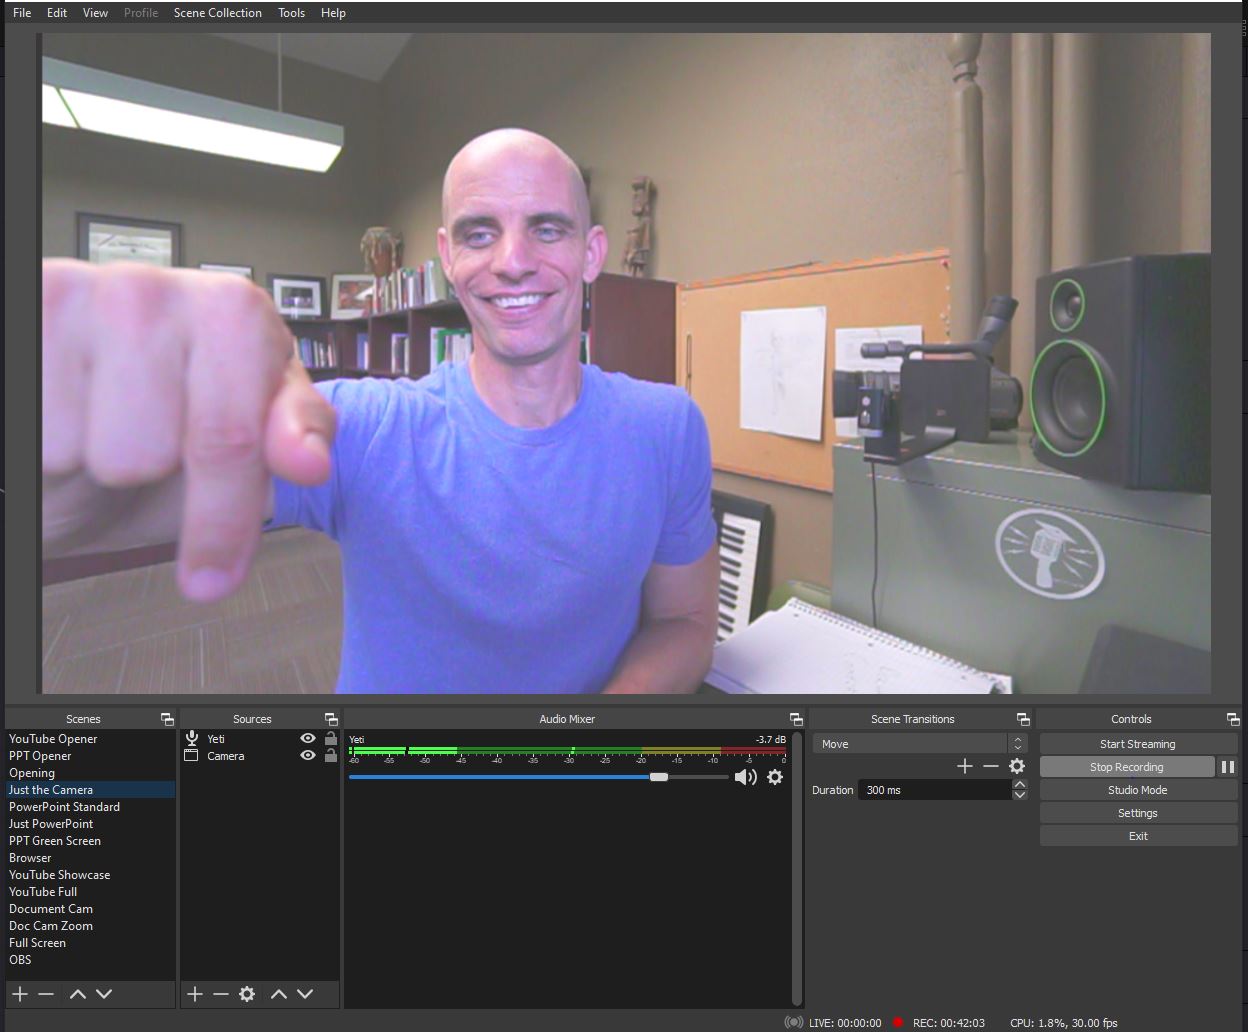
Source = Any audio or video source such as a Camera, Window, Image, Video, Text, Microphone, etc.
Scene = A Collection of Sources Arranged on the Screen
You have to create the scenes yourself. OBS does not come pre-loaded with scenes.
In the screenshot above you can see that the “Just the Camera” scene is selected which has my Yeti microphone and my camera as sources.
Your goal is to imagine different presentation scenarios and create a scene for each one. Here are the scenes I have created and how I created them.
Scene 1: Just the Camera
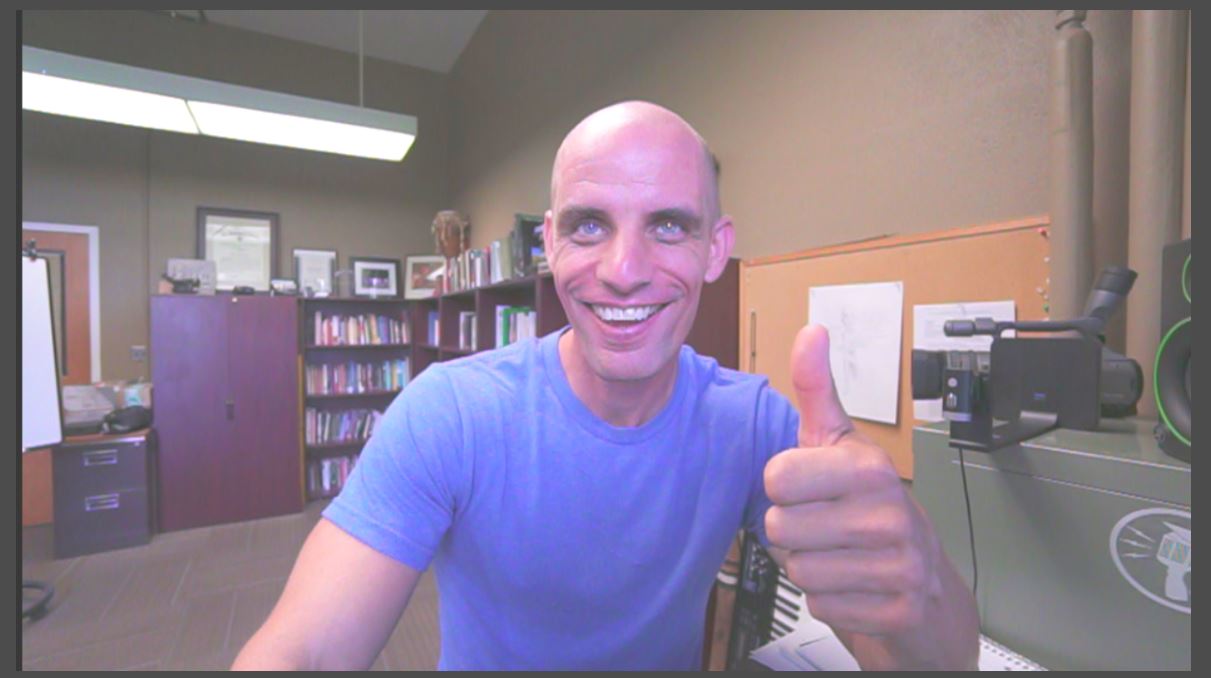
Let’s start with the basics. This scene has just 2 sources, my mic and the camera.
Start by creating your scene, then add your sources.
- Click the “+” button in the “Scenes” window and name your scene.
- Click on the “+” button in the “sources” window.
- Click “Add Audio Input Capture”
- Click “Create New” and name your main microphone.
- Select your microphone from the dropdown list. Click Ok.
- Click the “+” again and select “Add Video Capture Device”
- Click “Create new” and name your camera.
- Select your camera from the dropdown list. Click OK. Done.
That same basic process will be the same for adding sources.
Scene 2: PowerPoint + Webcam
Let’s add PowerPoint.
- Right-click and duplicate your “Just the Camera” scene.
- Re-size your camera and place where you want it. You can crop by holding down the “alt” key while dragging the handles.
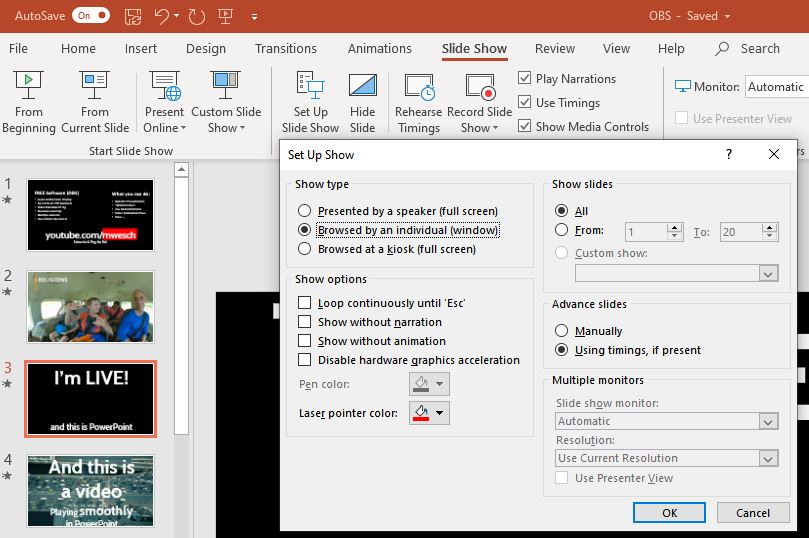
- Open a PowerPoint slide deck.
- Go to Slideshow => Set Up Slide Show and select “Browsed by an individual (window)”
- Start your slideshow. It will appear in a window on your screen.
- In OBS, click “+” in Sources.
- Select Window Capture and select PowerPoint in the dropdown selection.
- Resize and place PowerPoint as you like.
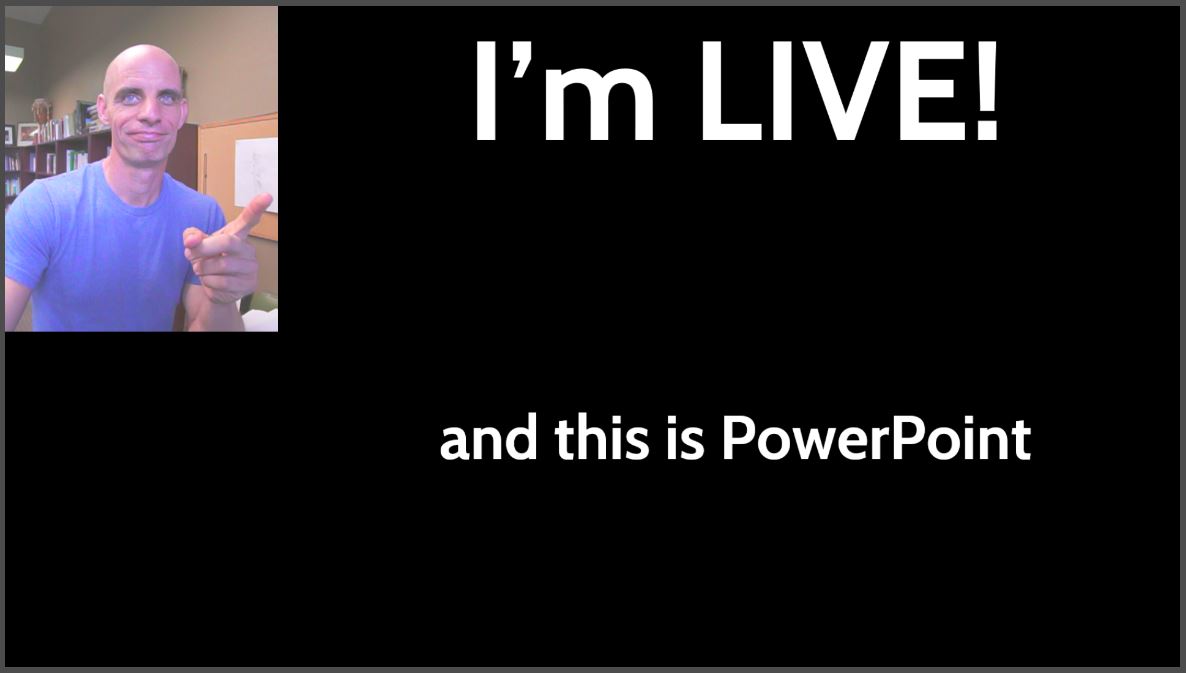
Scene 3: PowerPoint Overlay on Webcam
This is one of my favorites.
- Start by duplicating the PPT scene above
- Turn off the visibility on the PowerPoint source. You will be creating a new PPT source.
- Create a new PowerPoint source. You can call it “PowerPoint Overlay”.
- Move the new PowerPoint source on top of the Camera in the sources list.
- Right-click on the PowerPoint Overlay source and select “Filters”
- Add a Color Key filter.
- Set the color to the background of your slide. Your background should disappear. You can play with the settings to get it looking just right.
Scene 4: Using a Script for a Countdown Opener
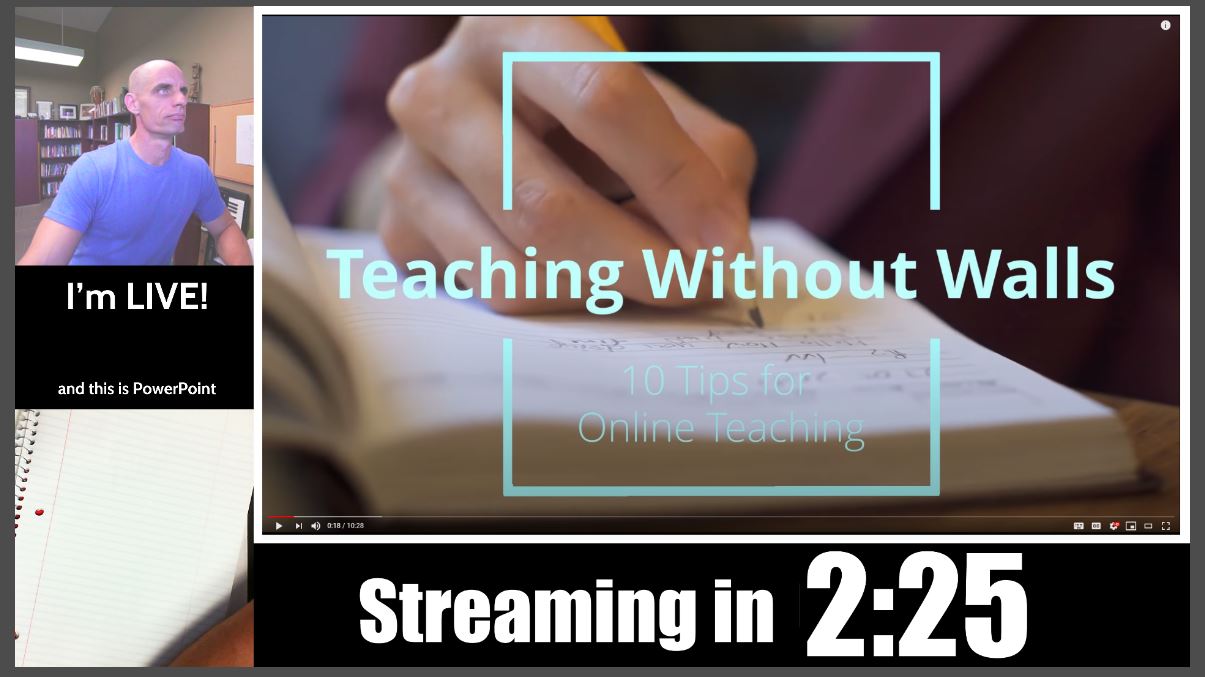
Key features: a preview of all of my major sources (a YouTube video, my camera, my powerpoint, and my document camera) along with a “streaming in” countdown. Here is how to make it.
- Create a scene called “Opener”
- Add all of the main sources you want. This might include your camera, a second camera, a browser playing a YouTube video, a PowerPoint, an image … whatever you want.
- Add text that says “Streaming in” or something like that.
- To add the counter, click on Tools => Scripts.
- Hit the “+” sign and you will see some installed plugins, including one called “countdown”
My Current Scene List:
I think you have the hang of it now. Just start creating as many scenes as you want, one for every presentation scenario you can imagine. Here is my current list:
Bonus Tip #1: Transitions & Plugins
Bonus Tip #2: Hot Keys
Bonus Tip #3: Use any camera (almost)
If you can get a live preview of your camera on your screen, you can use it on OBS by adding a “source” for that window that is previewing your camera. That is how I am using my Sony a6500 with the Sony Remote software.

Streaming on YouTube
Now you are ready to stream to your class.
- You will have to enable streaming on YouTube, which will require YouTube to verify your channel. This can take a day or so.
- Once enabled, login to YouTube, push the camera icon at the top and select “Go Live”
- Setup your stream. I would recommend making it private for testing your first time, then make it unlisted and share the link with your students. (Click the curvy arrow at the top for the share link)
- Copy the stream key on YouTube.
- Go to OBS. In the lower right-hand corner select Settings => Stream and enter the Stream Key from YouTube there.
- Click “Start Streaming” in the lower right-hand corner of OBS
- Click “Go Live” on YouTube.


