
On Tuesday we broke down some of our favorite videos and came up with four categories of excellence with several elements within each category. This morning I came up with a 5th, so the Big 5 are:
- A great topic that is
- compelling
- important
- novel
- surprising
- entertaining
- drawing an interesting comparison
- A great story, which might include:
- a gap between what is and could be
- or some other engaging element
- high stakes
- a core conflict
- a compelling arc – intensity rising and falling
- good character development
- immediately and continuously engaging
- strong feelings and emotions
- a strong driving narrative
- or continuous insightful comparisons that engage the viewer
- Technical Excellence in capturing footage, including
- appropriate lighting to match the mood and intensity of the story
- appropriate camera movements (smooth, handheld, pans, zooms, tilts, etc.)
- interesting and beautiful backgrounds, set design, and costume design
- aesthetic and appropriate composition and framing
- appropriate color schemes to match the mood
- clean audio
- subtle audio cues that add realism
- Outstanding Editing, including
- appropriate rhythm and pacing
- good timing
- appropriate sequencing
- aesthetic and appropriate transitions
- A strong theme or point that is
- reasonable (or demonstrated to be reasonable)
- compelling
- novel
- insightful
This week’s goal: Complete our first practice film by doing the Boring Room Challenge:
The Rules:
- Work alone (except for actors)
- Final results are not as important as what you learn from the process
- Therefore, you must engage in a process that allows you to practice the key elements outlined above.
- Compose a story that allows you to practice as many of the bullet-points as possible
- Shoot your film, practicing as many of the bullet-points as possible
- Edit your film, practicing as many of the bullet-points as possible
- Post to YouTube and embed on the Canvas discussion
- Due Monday by midnight.
Is this possible in one week with all of my other classes?
Notes from my own Boring Room Challenge
- Total estimated time to write, shoot, and edit: 6 hours. 2 hours for each phase.
- Actual time to write the story: 5 days
- But at least it seems like it was written in 2 hours
- Time to shoot. Started by creating a shotlist. Took me 1 hour.
- Shooting time. Estimated time: 2 hours.
What actually happened:
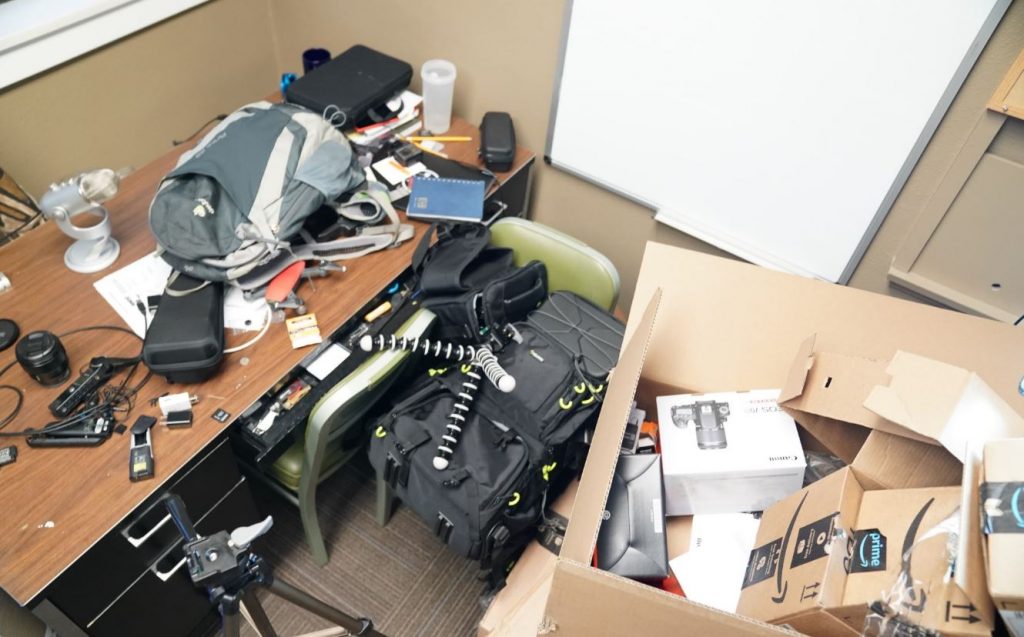
Spent 2 hours moving boxes and “cleaning the set”
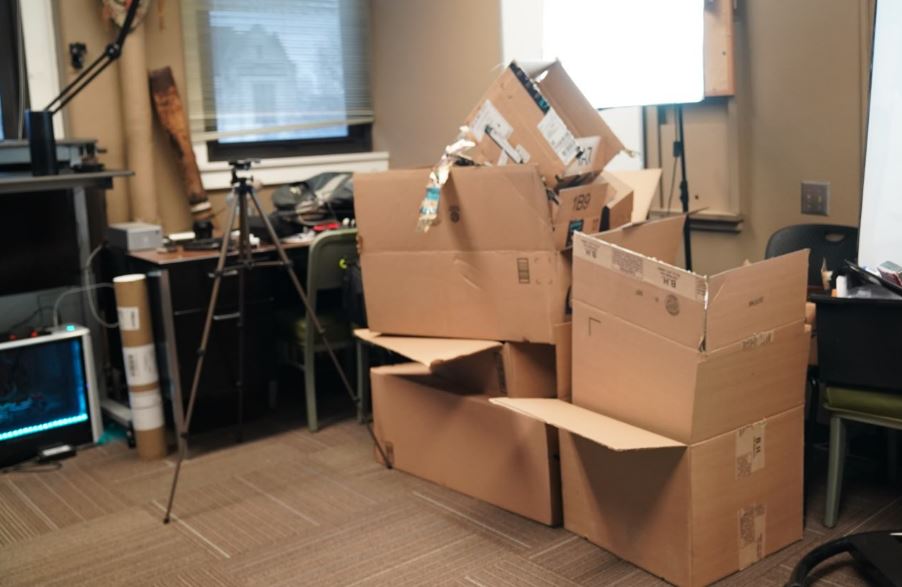
Set clear:
![]()
Lost my phone while clearing the set. It’s somewhere in there ..
Could not figure out why my camera was locked on 1/30 shutter speed (this took me about an hour to fix)

By this time, I decided to forgo the professional mic setup and just get started. After wrestling with the tripod, getting into costume, setting up an additional light, etc. etc. (another 30 minutes lost), I shot my first scene, imported it onto my computer using proper ingest settings (which took me 30 minutes to learn) only to discover that the only footage I actually captured was this:
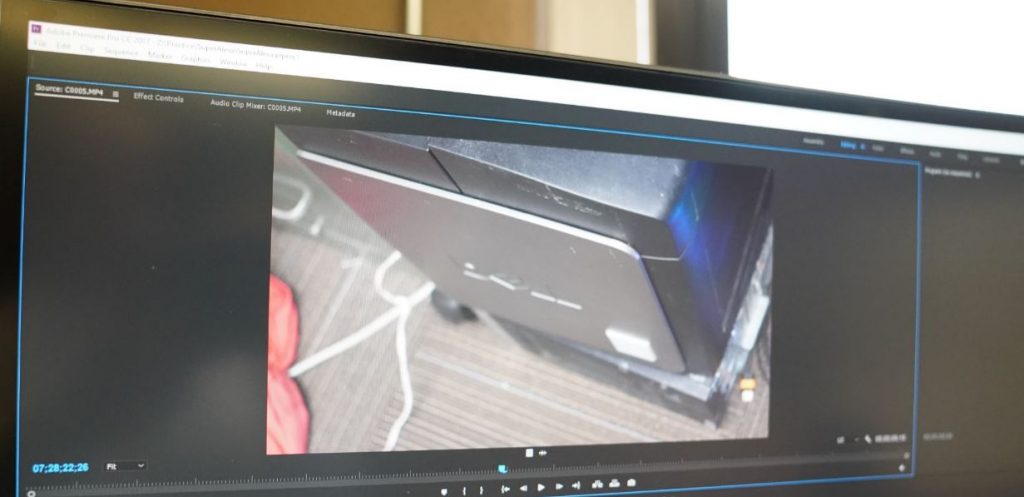
So I tried again. And my shot was over-exposed and cropped too tight:
And by then I had to get ready for class … and so 5 days and 5 hours into a “6 hour project” I had nothing to show for it except that series of crappy pictures above, and this test shot for how to fix the problems I ran into:

I made a quick list of Lessons learned and headed off to class:
- I learned more about how I create, what keeps me from creating, and a few tricks for getting myself into a creative mindset. My big insight about myself: I am drawn to single scenes that seem amazing in my head but don’t fit into any clear story. But starting with a big theme doesn’t work for me either. I have to intentionally tack back and forth between scenes and themes (little picture and big picture)
- I learned how hard it is to set up a good shot to tell a good story. It is hard to get a camera to “see” what I see in my mind.
- How to choose the right lens to avoid cropping, to show the full scene, etc.
- That my tripod is too cheap and short.
- How to properly set a memory recall so my shutter speed and frame rate are locked in.
- How to over-expose a scene (and how to better read a histogram to avoid it next time)
- How to organize my stuff so I don’t lose it during the shoot
- How to simplify the production process to create fewer mistakes
- How to ingest video and create proxies for quick editing
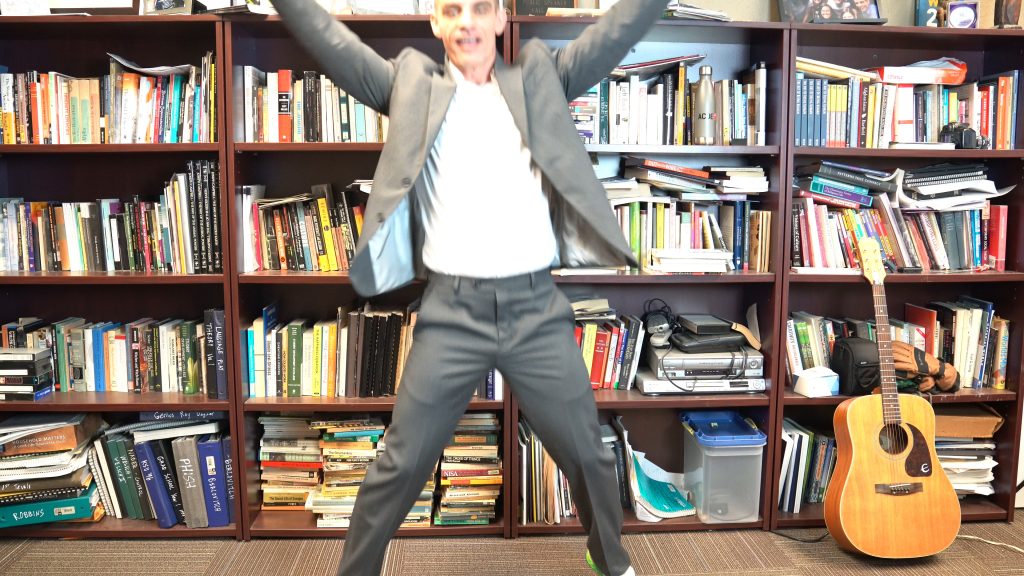
With these lessons in mind, I re-wrote the shotlist for a tighter time-frame and then completed the entire project start to finish in just 4 1/2 hours the next morning.
To understand the video, you have to know a bit of old school pop culture:
This is how it turned out:
Triumphs: I really wanted to practice a lot of the elements of storytelling we talked about, so I did the following:
- Engagement: I worked really hard on creating tension, conflict, a challenge, and other elements to engage the viewer. This took me several days of work – mostly just coming up with unsatisfying ideas. Lesson Learned: The Inner Critic is an important element of creativity. It pushes you to keep finding something a little bit better. It can also be stifling if you don’t have a deadline that forces you to get to work.
- The Arc: I created a multi-act story to get a sense of an arc. This also allowed me to experiment with several different styles of storytelling (uplifting comedy, love story, thriller, dark comedy)
- Character Development: I tried to make my character fun and lovable with the opening scene so that you care about him as the plot twists later on. (though I think it is missing something that makes you want to keep watching after the first 15 seconds. There is no clear mystery. I think working in a mysterious shot from the webcam might have helped)
- Returning Theme and Coda: I used the single line “open the pod bay doors” multiple times so that it had a different meaning during setup, build-up, and climax.
- Lighting: I really pushed myself to work in multiple lighting conditions and learned a lot. I have never been good shooting in low light. I made some mistakes over and over again, but I worked quickly to overcome them and learned a ton as I went.
- Camera movements. I worked alone so I wasn’t able to do as much camera movement as I wanted to, but it did force me to get creative and think of new ways to move the camera (vlog style, using the drone). Lesson Learned: Don’t fly a drone in a big building that throws the compass and gps out of whack. ?
- Composition, framing, angles. I used the dance scene to practice multiple angles and types of shots. This was super-fun to work on and I am proud of my progress. Still not pro, but getting better.
- Audio. I need to find a way to better manage my audio files, perhaps by syncing the time with the camera. I had a hard time finding the audio from the recorder to sync with the camera. In all, I was pretty disorganized throughout the shoot and could improve greatly on that.
- Rhythm and Pacing. This was really tricky. I did not realize how hard this is. This provided some very important practice and growth, but I have a long way to go to give that “experiential” feel. Some shots and transitions still feel awkward and mistimed.
- Transitions. I practiced a few zoom effects with sound in the “thriller” part of the piece. It was fun, great practice, and I learned a lot.
It’s all about practice.
Tips based on my own journey:
Know your Gear:
- One mirrorless or DSLR camera.
- One auto zoom lens + at least one “art” prime lens for bokeh and low light
- shotgun mic for better sound (check audio levels)
- lav mic for even better sound
- Tripod (keep shots stable)
- Stabilizers also available for camera movements
Know your Camera Settings:
Special Settings for Video:
- Video is different because your shutter speed is dictated by the frame rate.
- Always set shutter speed to 2x your frame rate.
- If shooting in 1080p at 24 fps (frames per second), set your shutter speed to 1/50.
- Usually you will set ISO to Auto and control light using aperture and your variable ND filter (Remove your filter in low light situations)
- Remember, high aperture (e.g. 1.8) = shallow depth of field and brighter image. If you want to isolate your subject, use a shallow depth of field (f1.8).
- However, sometimes you want more clarity of the background, so then you have to use a lower aperture (e.g. f=5.6 or higher). Note though that in indoor or low-light situations, your camera will have to adjust by using a higher ISO, which can lead to a grainy image.
Know your Lenses:
3 Types of Lenses (field of view)
- Standard Field of View: 35-70mm
- Wide: Less than 35 mm
- Telephoto: Over 70 mm
Note that our prime lenses are on a “crop” sensor so we have to multiply them by about 1.5 so we have:
Sony A6000 Kits
- 18-50mm = 27mm (wide) to 75mm (telephoto)
- 25mm prime = 37.5mm (standard)
Sony A6000 Kits
- 18-150mm Zoom = 27mm (wide) to 225mm (telephoto)
- 16mm = 24mm (wide)
- 30mm = 45mm (standard)
- 50mm = 75mm (telephoto)
Canon Kits
- One Standard: 24mm x 1.5 = 36mm
- One Wide Angle: 10-18mm x 1.5 = 15-27mm
- One Telephoto: 50mm x 1.5 = 75 mm
- + you have the kit lens, which is good for good light conditions.
Why we use adjustable ND lens filters:
Use different types of shots to set and tell your story:
Think about composition and framing. Wes Anderson is a master of this:
Practicing recording better audio:
Creating a workflow for your project:
Tips:
- Don’t save stuff on your desktop!
- Create a folder for your project on an external drive
- Create a video folder in that folder. Create folders for each camera and each day.
- Create an audio folder.
- Create a graphics folder.
- Move your files from your card into the proper folder you just created.
- Back stuff up!
- Create your project in Premiere inside the project folder you created.
- Go to media browser in Premiere and import the folders.
The Basics of Video Editing:
And the most advanced tutorial EVER:
If you are using a laptop and its lagging, try this:


